
Kitchen
Setting a Glass Tile Backsplash: Installation Guide
How to install a glass tile backsplash: flat wall prep, white thinset not mastic, full coverage, cutting glass, unsanded grout and cure times.
By the Prime Construction team Updated October 13, 2026 6 min read
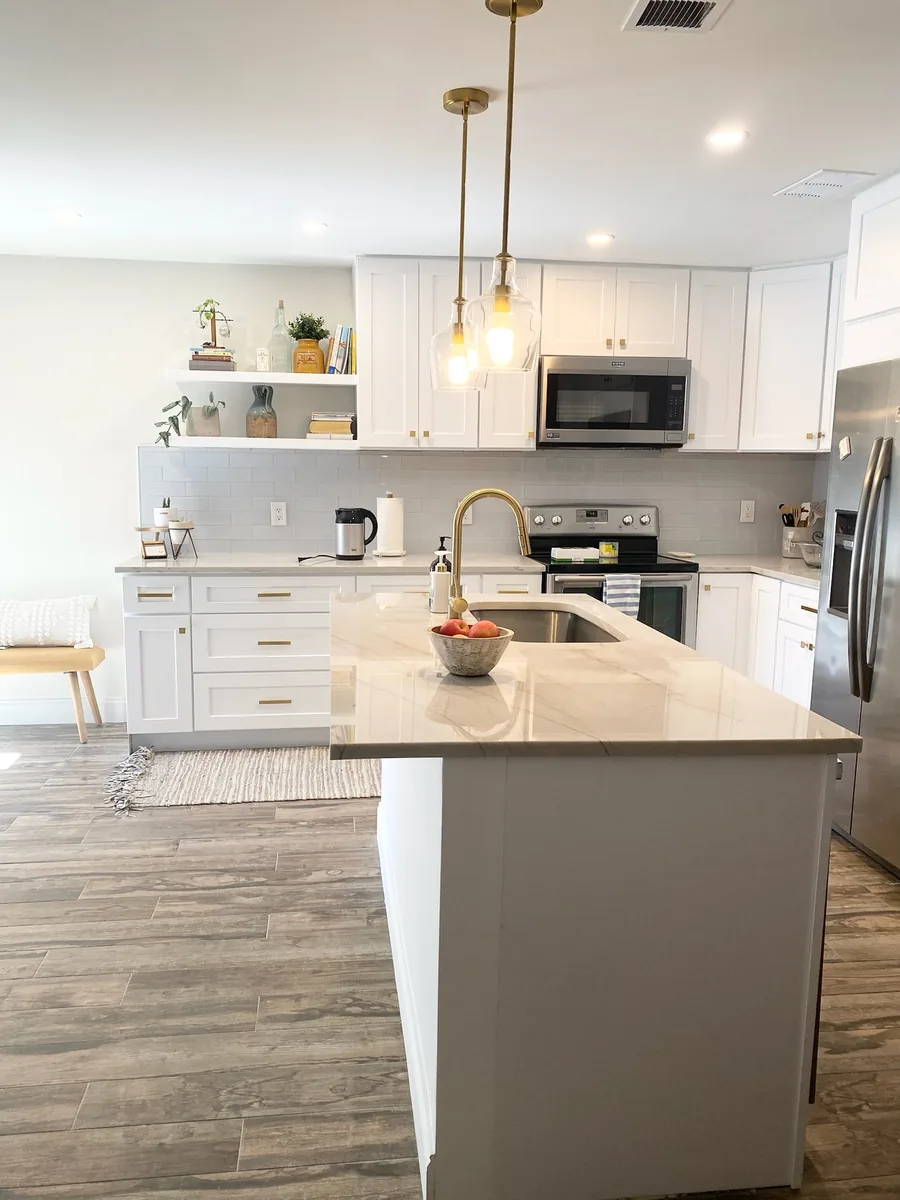
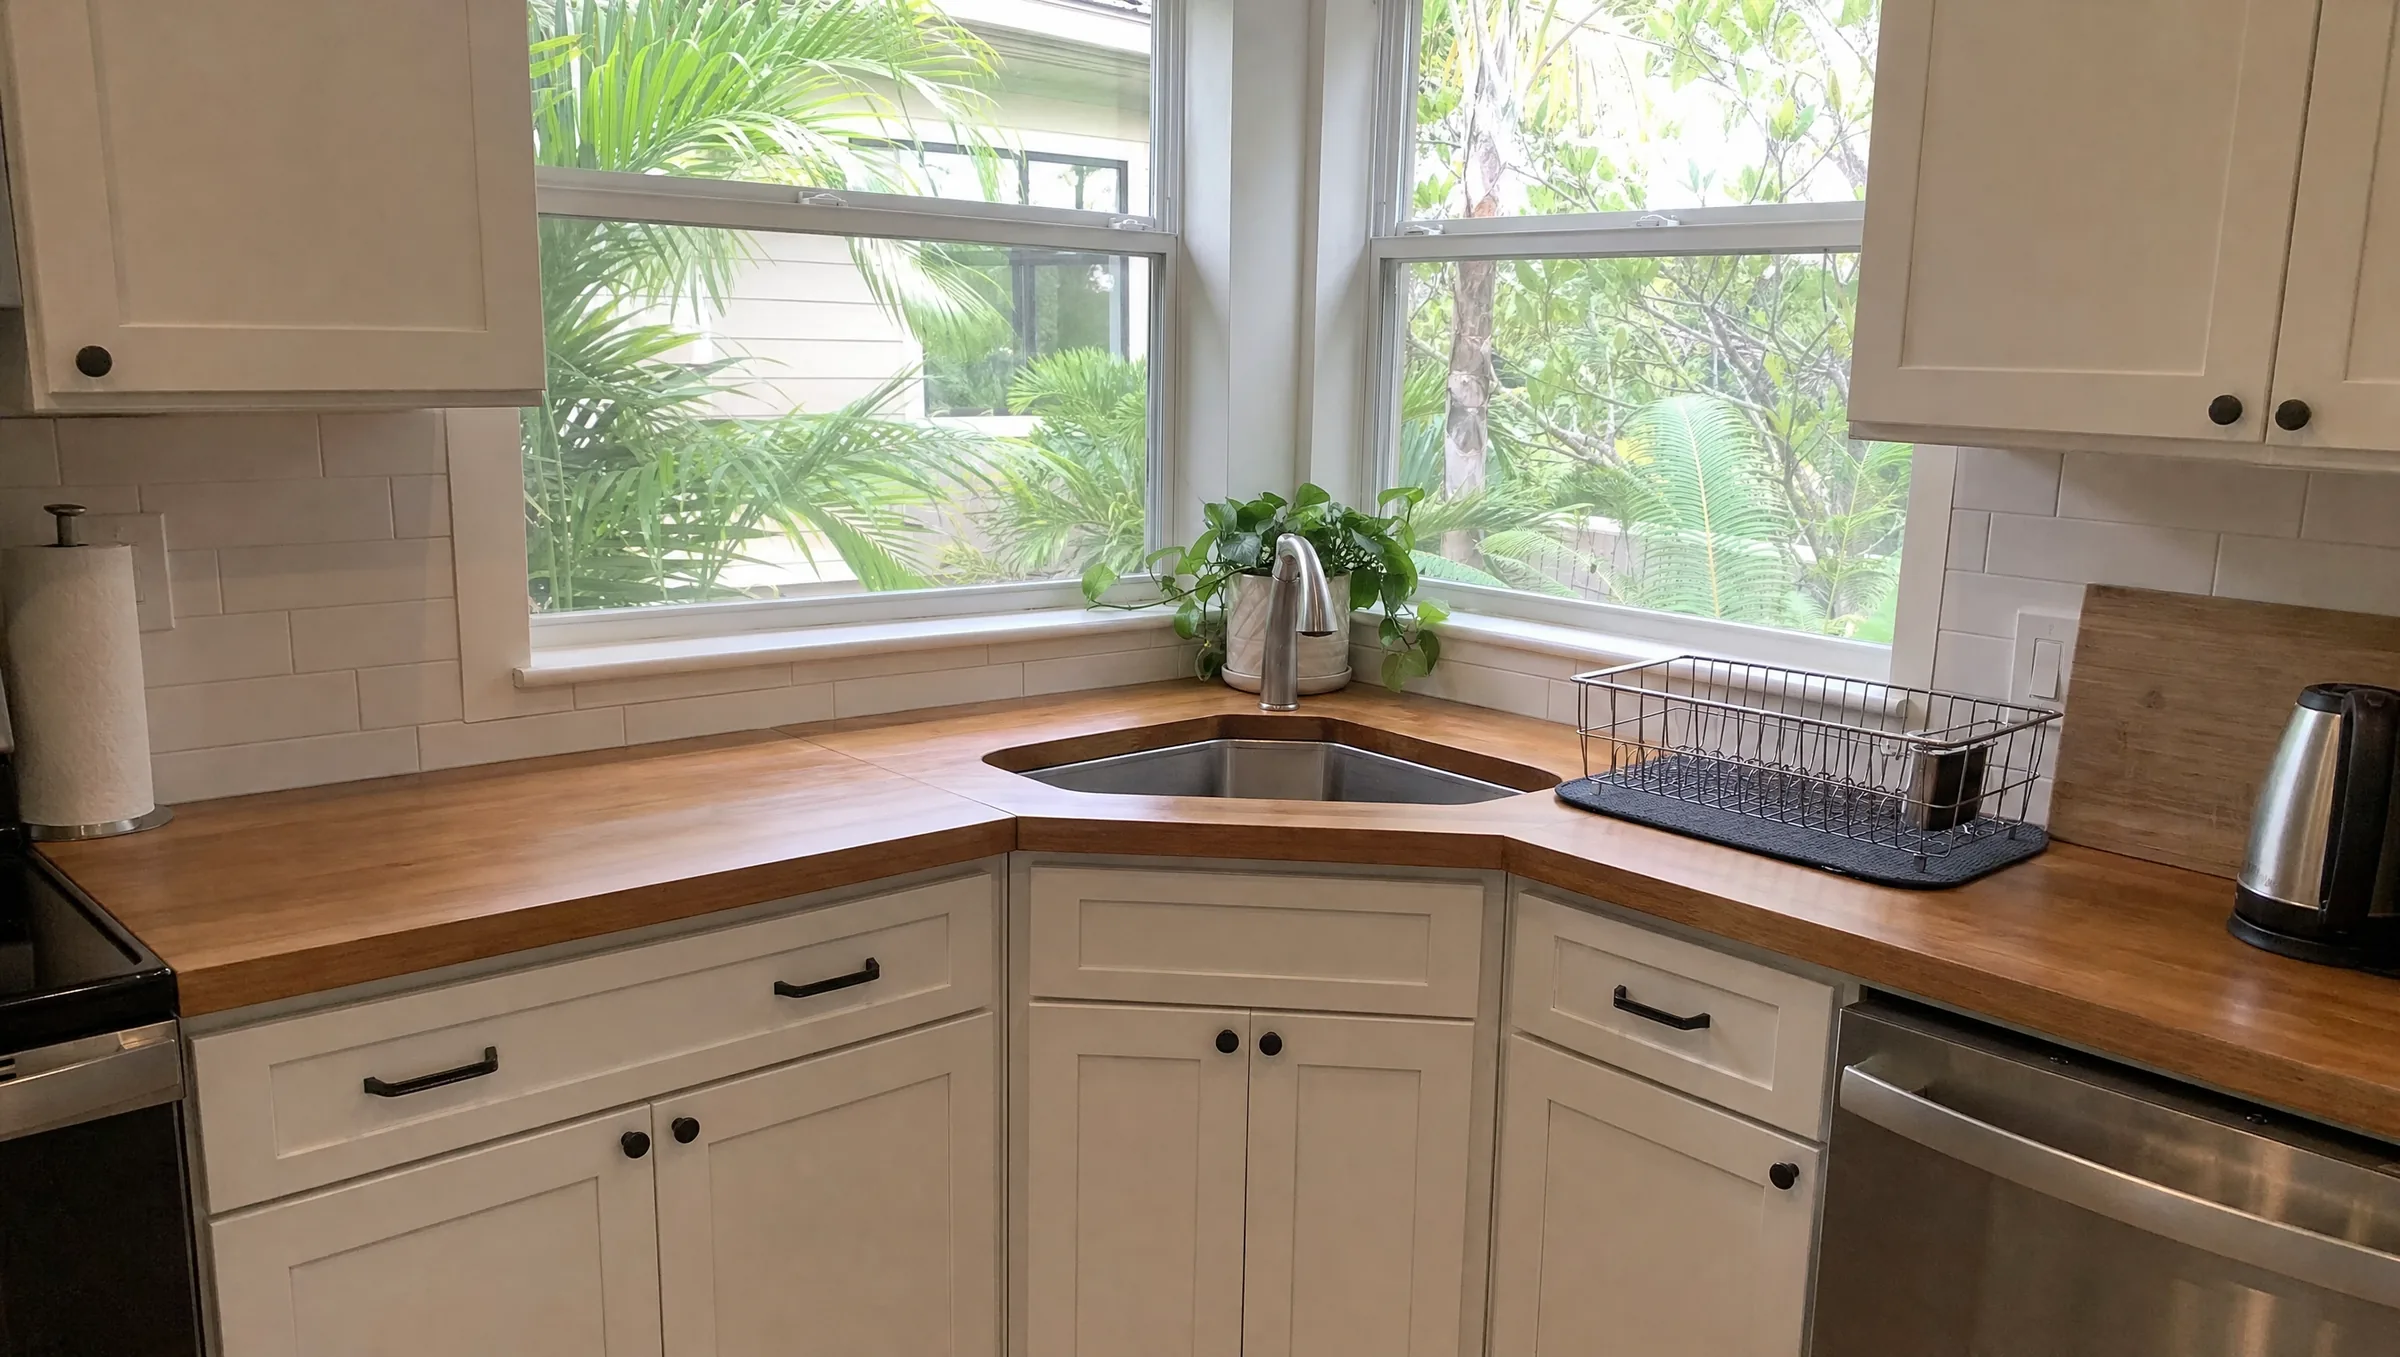
Setting a glass tile backsplash takes the same steps as any tile job, but with tighter rules: the wall must be very flat, you must use a white thinset the glass manufacturer approves (never mastic), you need full mortar coverage with no ridges or voids behind the glass, and you should grout with unsanded or another non-scratching grout. Glass is see-through and does not absorb moisture, so every mistake behind it shows from the front. Here is how we approach installing a glass tile backsplash.
Why glass tile is different
- You can see behind it. Clear and translucent glass shows trowel lines, air bubbles and the color of the mortar.
- It does not absorb anything. Mortar under glass cannot dry through the face, which is why air-drying adhesives like mastic are a poor match.
- It moves more with temperature than ceramic, which makes soft movement joints at edges and corners more important.
- It scratches and chips. Sanded grout and rough cutting damage it.
None of this makes glass hard to live with once it is installed. It is easy to clean and does not need sealing. It just means the installation has to be careful.
Types of glass tile
| Type | Description | Install notes |
|---|---|---|
| Glass mosaics, mesh-backed | Small pieces on a mesh back | Mesh goes into the mortar; most common for backsplashes |
| Glass mosaics, paper-faced | Paper on the front face | Set paper side out, wet and peel the paper while the mortar is workable |
| Glass subway | 2x4 up to 3x12 and larger | Back-butter; larger pieces show more behind them |
| Painted-back glass | Color is on the back of the tile | Mortar coverage matters less visually, but the right mortar still matters for the backing |
| Recycled or textured glass | Irregular surfaces, often opaque | More forgiving visually, still needs full coverage |
Ask your supplier which setting material and grout the glass maker approves, and keep the instructions. They are more specific for glass than for ceramic.
Tools and materials
- White polymer-modified thinset rated for glass tile (as specified by the tile maker).
- The trowel size the manufacturer specifies, often a small V-notch or square notch for mosaics.
- Wet saw with a glass-cutting blade; wheeled glass nippers for mosaics.
- Spacers, a 4 ft level and a straightedge.
- Unsanded grout, or a premixed or epoxy grout approved for glass.
- Color-matched caulk for the countertop joint and inside corners.
- Safety glasses and cut-resistant gloves. Glass edges are sharp.
Step 1: Prepare a flat, clean wall
Glass shows every bump in the wall. Check the backsplash area with a straightedge and fix high spots and dips before you buy tile.
- Drywall or painted drywall is an acceptable backing for a dry kitchen backsplash. Clean it, degrease it, scuff glossy paint, and patch holes flat. Our guide to tiling on painted drywall covers the prep in detail.
- Remove old tile adhesive completely. Old mastic ridges will show through glass.
- Light-colored backing helps. On a dark or patched wall, some installers skim a thin coat of white thinset first and let it cure, so the wall color behind the glass is uniform.
- Shut off power to the backsplash outlets and remove the cover plates before you start.
Step 2: Plan the layout
- Find the centerline of the sink or range and lay out from there, so the cut pieces at each end are equal.
- Dry-lay a row of sheets on the counter to see how the joints fall at windows, outlets and cabinet edges.
- Leave about a 1/8 inch gap at the countertop for caulk, and plan soft joints at inside corners and where tile meets cabinets.
- Behind a range with no countertop, screw a straight ledger board to the wall to support the first row.
Step 3: Mix and apply the thinset
- Mix the white thinset to the consistency the bag calls for (usually a smooth peanut-butter texture), let it slake, and remix.
- Mix small batches. Mortar that skins over will not bond to glass.
- Spread with the flat side of the trowel first to key it into the wall, then comb it with the notched side in one direction.
- For clear or translucent glass, knock down the ridges with the flat side of the trowel after combing, or back-butter each tile with a thin, smooth coat. You want an even layer with no lines or voids.
Step 4: Set the glass
- Press each sheet or tile in and beat it in lightly with a flat grout float or beating block so the mortar fully contacts the glass.
- Pull a tile now and then to check coverage. The back should be fully covered.
- Keep joints straight. With mesh-backed mosaics, watch that sheets line up, because the joint between sheets shows if it is wider than the joints within a sheet.
- Wipe mortar out of joints and off the face as you go. Cured thinset on glass is hard to remove without scratching.
- Paper-faced mosaics: once the sheets are set, dampen the paper and peel it diagonally while the mortar is still workable, then adjust any pieces that moved.
Step 5: Cutting and drilling glass tile
- Straight cuts: wet saw with a glass blade, slow and steady, tile fully supported.
- Mosaic pieces: wheeled glass nippers, small bites.
- Holes for pipes or fixtures: a diamond hole saw with water, at low speed, without pressing hard.
- Around outlets: cut the opening slightly larger than the box and inside the cover plate edge. You will need box extenders after tiling; see our guide to tile around outlets.
- Exposed edges: a cut glass edge is sharp and looks rough. Finish exposed ends with a factory-finished edge piece, a trim profile, or end at a cabinet or wall.
Step 6: Grout, caulk and cure
- Wait for the thinset to cure as the label directs before grouting. With glass this is often 24 hours or longer.
- Grout with unsanded grout or a grout approved for glass. Work it in diagonally with a rubber float, then clean the face with a damp sponge and a light hand.
- Buff the haze with a soft, dry cloth after the grout firms up. Avoid abrasive pads.
- Caulk the countertop joint, inside corners and the edges against cabinets with a color-matched caulk instead of grout.
- Seal cement grout after it cures, typically 48 to 72 hours, as the grout maker directs. Glass itself does not need sealing.
- Reinstall outlets with extenders and longer screws, then turn the power back on and test.
What glass tile costs
Glass is at the higher end of backsplash tile. Typical Orlando-area planning ranges for 2026, installed, run about $20 to $60 per square foot for backsplash tile, with glass, mosaics and natural stone at the top of that range. Most Orlando kitchens spend $1,000 to $3,000 on a tile backsplash. Labor is higher with small mosaics, many outlets and windows, and walls that need flattening first.
When to hire a pro
The usual reasons a glass backsplash gets redone are visible ridges, gray mortar showing through, and scratched faces, all of which are hard to fix without removing the tile. If you want glass but not the risk, our kitchen remodeling team handles the wall prep, tile and outlet work together. We also install tile as part of our flooring and tile work.
Planning a glass backsplash in Orlando?
If you are in Orange, Seminole, Osceola or Lake County and want a glass tile backsplash set right the first time, Prime Construction measures, checks the wall and quotes the prep and tile together. Call (407) 404-3944 or request an estimate.