
Bathroom
How to Attach a Marble Backsplash to a Vanity: Best Adhesive
Attach a marble backsplash to a vanity the right way: the best adhesive for stone, dry fit, setting, caulk joints, cure times and sealing.
By the Prime Construction team Updated October 13, 2026 10 min read
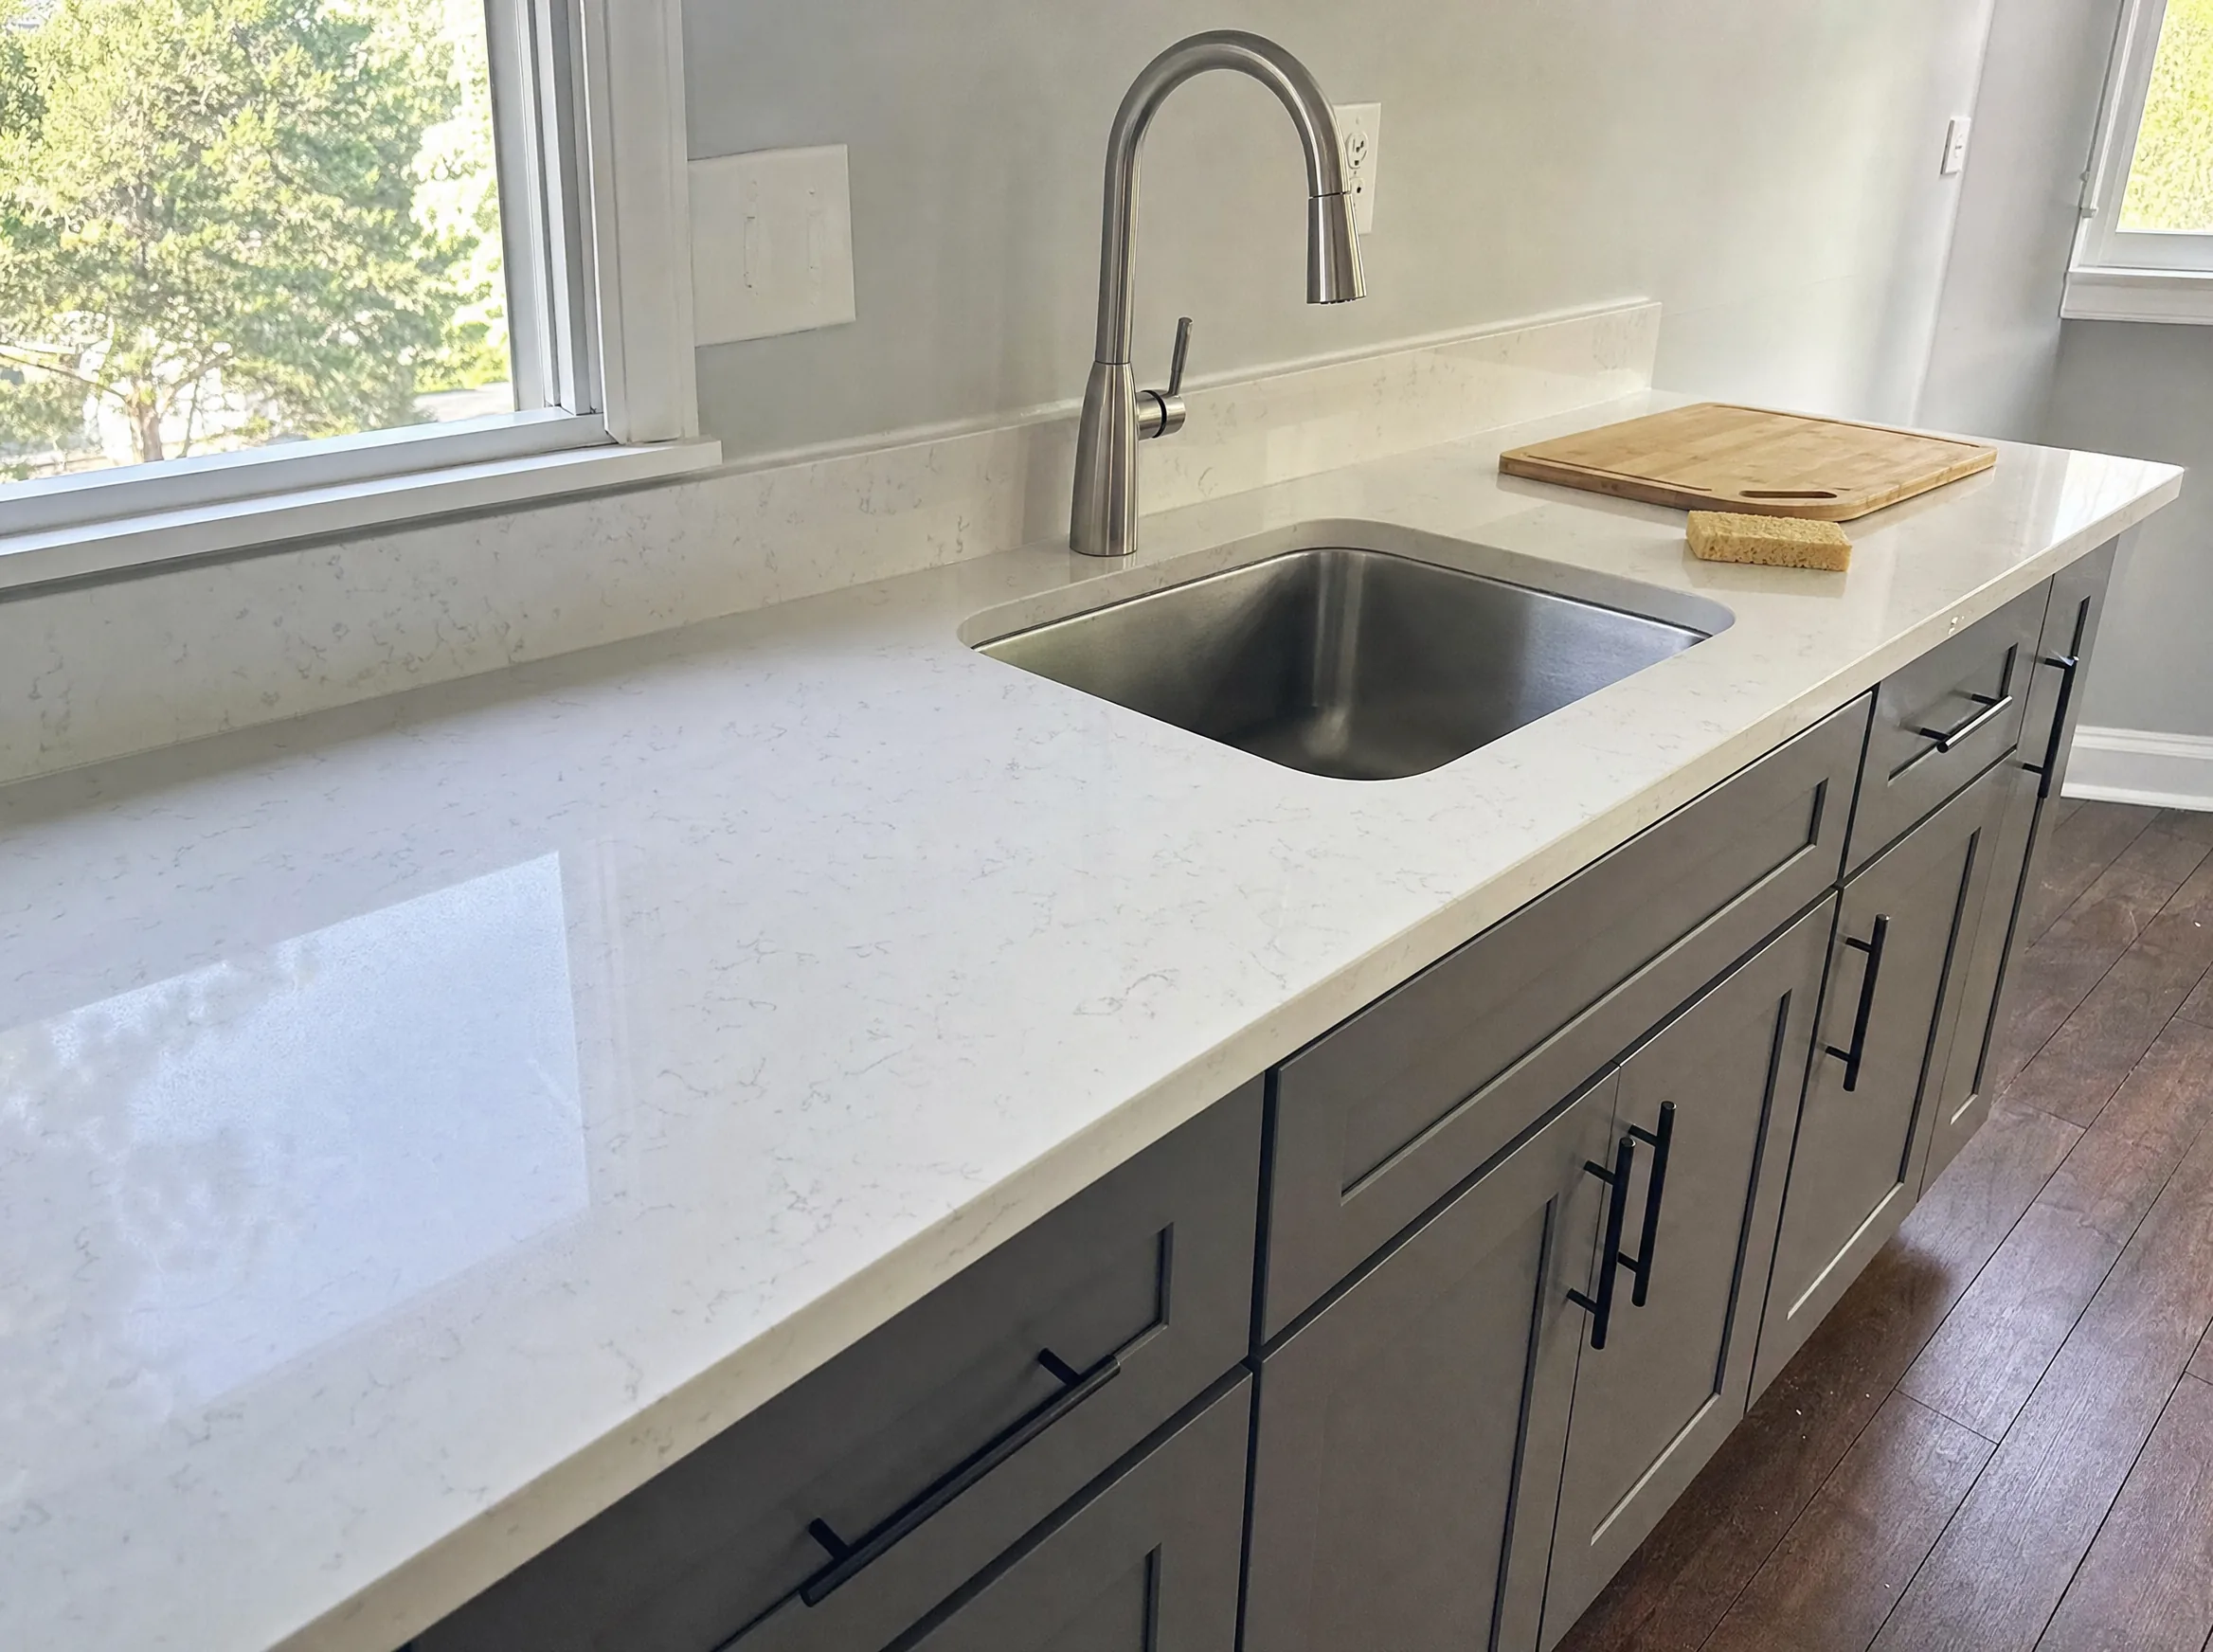
To attach a marble backsplash to a vanity, clean the wall and the top, dry fit the piece, apply dabs of 100 percent silicone (a neutral-cure silicone made for natural stone is the safest choice) to the back, press it into place on a thin bead along the vanity top, tape it while it cures for about 24 hours, then caulk the joints. Construction adhesive and epoxy have their place with stone, but for a standard 4 inch marble backsplash, silicone is the best adhesive. Below are the tools, the adhesive choices compared, and every step in order.
Why the backsplash attachment matters
A vanity backsplash is a short strip of stone, usually 3 to 4 inches tall and about 3/4 inch thick, that sits on the back edge of the vanity top against the wall. Its job is to keep water off the drywall. If it is glued badly, three things happen:
- A gap opens between the backsplash and the top, and soap, water and hair collect in it.
- Water wicks behind the stone and soaks the drywall paper, which is how mold starts in a Florida bathroom.
- The piece comes loose the first time someone leans on it.
The good news is that this is one of the more forgiving stone jobs. The backsplash carries no load, so the glue only has to hold it flat against the wall and seal the joints.
Natural marble vs cultured marble backsplashes
Check which one you have before you buy adhesive, because the care rules differ.
- Natural marble is quarried stone cut into slabs. It is porous, it can stain, and acids etch it. It should be sealed with a penetrating stone sealer.
- Cultured marble is a cast product made of crushed stone and resin with a glossy gel coat on top. It usually comes as a matching set with the vanity top. It does not take stone sealer, and its makers almost always call for 100 percent silicone to attach the backsplash.
If the back of the piece is rough, granular and the same color all the way through, it is natural stone. If the back is smooth or painted and the face has a uniform glossy shell, it is cultured.
Tools and materials
Tools
- Tape measure, 2 foot level and a straightedge
- Utility knife and a plastic putty knife or razor scraper
- Caulk gun
- Painter’s tape (blue or similar low-tack tape)
- Clean rags and isopropyl alcohol
- Caulk smoothing tool, or a gloved finger
- Wet tile saw or angle grinder with a diamond blade, only if the piece has to be shortened
Materials
- 100 percent silicone, neutral cure and labeled safe for natural stone (clear or color-matched)
- Optional: a paintable siliconized acrylic caulk for the top wall joint
- Penetrating stone sealer (natural marble only)
- Thin plastic shims or spacers
The best adhesive for a marble backsplash, compared
This is the question most people searching this topic are really asking. Each option has a job.
| Adhesive | Best for | Strengths | Watch out for |
|---|---|---|---|
| 100 percent silicone (neutral cure, stone-safe) | Standard 3 to 4 in. marble, granite, quartz and cultured marble backsplashes | Bonds stone to drywall and stone, flexible, waterproof, removable later with a blade | Not paintable; acetoxy (vinegar smell) silicone can discolor some stone |
| Construction adhesive | Heavier pieces when the manufacturer allows it, non-porous materials | Very strong grab, fills gaps | Solvent types can bleed dark spots into light marble; hard to remove |
| Two-part stone epoxy | Stone-to-stone joints, seams and repairs | Rigid, very strong, can be tinted to match | Rigid joint against drywall can crack as the house moves; short working time |
| Thinset mortar | Tile backsplashes, not slab pieces | The standard for tile | Not used to stick a single slab strip to drywall |
Why we lean on silicone for a slab backsplash: it stays flexible as walls move, it does not bleed dark blotches into light marble the way solvent-based adhesives can, and it can be cut free with a long blade if the top is ever replaced. A construction-adhesive bond usually takes the drywall paper with it.
Acetoxy silicone, the kind that smells like vinegar while it cures, releases acetic acid. Marble is calcium carbonate and reacts with acid, so many stone suppliers recommend a neutral-cure silicone for natural stone. If you cannot tell which type a tube is, the label or the technical data sheet will say.
Step-by-step: how to attach a marble backsplash to a vanity
Step 1: Prepare the wall and the vanity top
- Cut out any old caulk with a utility knife and scrape off the residue. New silicone will not bond to old silicone.
- Scrape off loose or peeling paint along the area the backsplash will cover.
- Wipe the wall and the back edge of the vanity top with isopropyl alcohol and let it dry. Soap residue and dust are the main reason backsplashes let go.
- Check that the vanity top is already installed, level and caulked to the cabinet. The backsplash is always the last piece. If you are still installing the top, see our step-by-step guide to install a marble vanity top.
Step 2: Seal natural marble before it goes on
If the backsplash is natural marble, apply a penetrating sealer to the face, edges and back now. Sealing the back slows moisture and adhesive from wicking into the stone. Follow the sealer’s label: most are wiped on, left for a few minutes, buffed dry, and need several hours to cure before the stone touches caulk or water. Skip this step for cultured marble.
Step 3: Dry fit and check the wall
- Set the backsplash on the vanity top against the wall without any adhesive.
- Hold a straightedge on the wall. Walls are rarely flat. A bow of 1/8 inch or less is normal and the caulk will cover it.
- Check the ends. Most backsplashes are cut flush with the top. If there is a side wall, a side splash may be included, and it overlaps the end of the back splash or butts to it.
- Look for a gap under the stone. If the vanity top is not flat, the backsplash will rock. Mark where it touches.
- Mark the top edge on the wall lightly with pencil so you can set it in the same place.
If the piece is too long, cut it with a diamond blade on a wet saw, cutting from the face side with tape on the cut line to limit chipping. Leave factory-polished ends on any edge that will show.
Step 4: Apply the adhesive
- Put a thin, continuous bead of silicone along the back edge of the vanity top where the bottom of the backsplash will sit. This bead is your water seal.
- On the back of the backsplash, apply silicone in quarter-size dabs about every 6 to 8 inches, or in short vertical strips. Keep them about 1/2 inch from the edges so they do not squeeze out onto the face.
- Do not run a continuous bead around the whole back. Vertical strips or dabs let air reach the silicone so it cures, and they will not trap water behind the stone.
Work quickly. Most silicones skin over in 10 to 30 minutes, and you want the piece set before that.
Step 5: Set and level the backsplash
- Lower the backsplash onto the bead on the vanity top and press it back against the wall.
- Slide it into position with gentle pressure so the dabs spread. Do not slide it more than an inch or two, or you will smear silicone across the top.
- Check it with a level along the top edge. If one end sits high because the vanity top is not flat, a thin plastic shim under that end can hold it while the silicone cures. Remove the shim and fill the gap with caulk later.
- Wipe off any silicone that squeezed out right away with a dry rag, then a rag dampened with alcohol.
Step 6: Hold it while it cures
Run strips of painter’s tape from the face of the backsplash up onto the wall every 8 to 12 inches. The tape keeps the stone pressed against the wall while the adhesive grabs. For a piece that leans out because of a bowed wall, a strip of tape alone may not be enough, so wedge it lightly from the front with a padded block.
Leave it for the time on the label. With silicone, that is usually 24 hours before you pull the tape and caulk. Construction adhesive and epoxy each have their own set and full-cure times, which can be longer, so follow the product.
Step 7: Caulk the joints
Caulking is what makes the job look professional and keeps water out.
- Tape both sides of each joint with painter’s tape, leaving a gap of about 1/8 inch: one strip on the stone, one on the wall or the vanity top.
- Cut the caulk tube nozzle small, at a 45 degree angle.
- Run a steady bead into the joint between the backsplash and the vanity top. Use clear or color-matched 100 percent silicone here. This is a wet joint and paintable caulk will not hold up.
- Run a bead along the top edge where the backsplash meets the wall, and down each outside end.
- Tool each bead in one smooth pass with a caulk tool or a gloved finger dipped in a little soapy water.
- Pull the tape right away, while the caulk is still wet, pulling away from the joint at a low angle.
If your wall paint needs to meet the stone cleanly, use a paintable siliconized acrylic caulk on the top wall joint only. Silicone cannot be painted.
Step 8: Let it cure before use
Keep water off the joints for at least 24 hours, longer if the label says so or the room is cool and humid. Bathrooms in Orlando often sit at high humidity, and running the exhaust fan during the cure helps. After the cure, splash some water along the joints and look for any spot where it beads into a gap.
Common mistakes
- Gluing onto old caulk or soap film. Clean to bare, dry surfaces or the bond fails within months.
- Using a solvent-based construction adhesive on white marble. It can show through as dark shadows that do not come out.
- A continuous bead around the back. It traps water and slows the cure of the silicone in the middle.
- Skipping the bead on the vanity top. The joint between the top and the backsplash is the one that gets wet every day.
- Painting over silicone. It will peel. Use the right caulk for each joint.
Full-height and tall marble backsplashes
Taller backsplashes, up to a full slab running to the mirror, are much heavier. They usually need the adhesive the stone supplier specifies, a flat wall and temporary bracing, so they are normally set by the fabricator.
Caring for a marble backsplash
- Wipe it with a soft cloth and a pH-neutral cleaner made for stone.
- Avoid vinegar, lemon, bleach mixes and abrasive powders on natural marble. Acid etches the surface and sealer does not prevent etching.
- Do a water test every 6 to 12 months: drip water on the stone and wait a few minutes. If it darkens, reseal.
- Recaulk when the caulk cracks, yellows or pulls away. Cut out the old bead completely first.
- Keep toothpaste, mouthwash and hair dye off natural marble, or wipe them up right away.
What it costs to have it done
Attaching a backsplash is normally part of a vanity top installation. In the Orlando area, labor to install a stone top on an existing vanity typically runs about $250 to $700 in 2026, and that usually includes setting and caulking the matching backsplash. If you are replacing the whole vanity, labor for a like-for-like swap is about $300 to $900, more with plumbing changes. These are planning ranges, and the stone itself varies widely by size and material. For the full picture, see our guide to the labor cost to install a vanity.
If the wall behind the old backsplash shows soft drywall, dark stains or a musty smell, stop and open it up. Water damage behind a vanity is common in older Central Florida bathrooms and it is far cheaper to fix before new stone goes on.
Planning a vanity project in Orlando?
A backsplash is a small job, but it sits on top of everything else: a level cabinet, a properly set top and sound plumbing. Prime Construction installs vanities, stone tops and backsplashes as part of our bathroom vanity service and full bathroom remodels across Orange, Seminole, Osceola and Lake counties. Call (407) 404-3944 or request an estimate and we will measure and quote it.