
Bathroom
How to Change a Bathroom Vanity: Planning to Install
How to change a bathroom vanity: when to replace, measuring, choosing a new one, removal and install steps, permits, DIY vs pro and Orlando costs.
By the Prime Construction team Updated October 13, 2026 7 min read
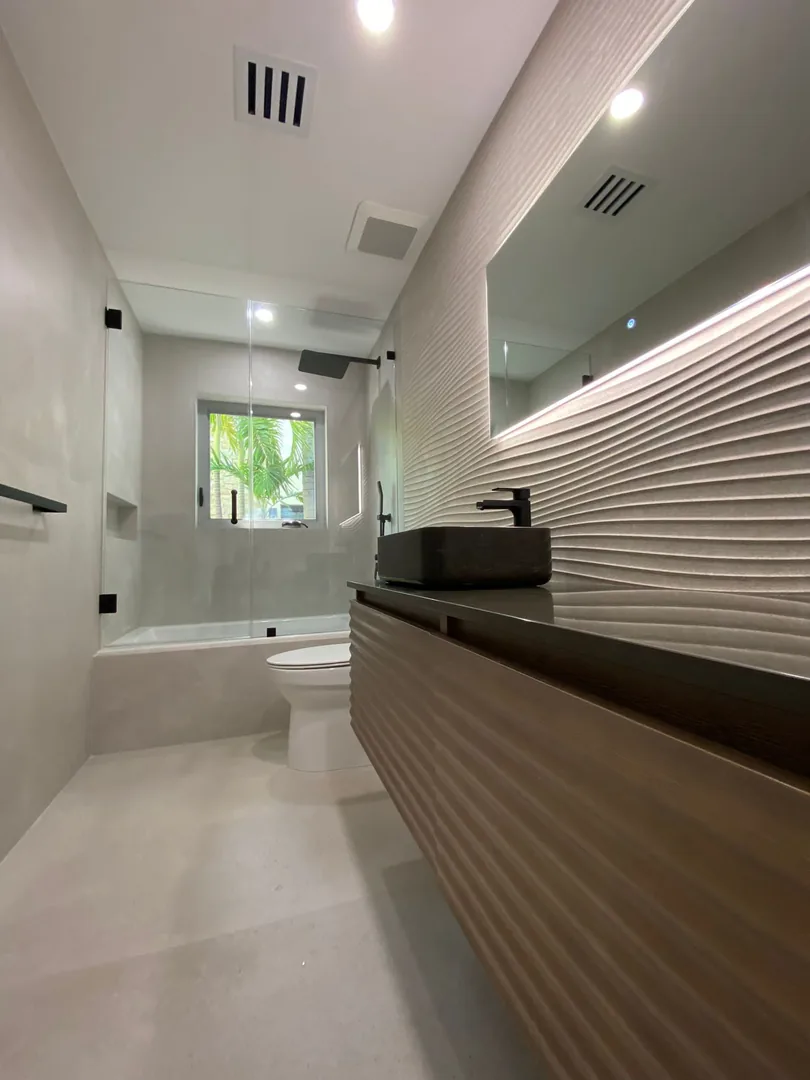
To change a bathroom vanity, measure the space and the plumbing, choose a vanity that fits the same footprint or plan for the floor and wall repairs a new size needs, shut off the water, disconnect the supply lines and P-trap, remove the old top and cabinet, then level and secure the new cabinet to the studs, set the top and reconnect the plumbing. A like-for-like swap is usually a one-day job. The planning decisions before the first screw comes out matter more than the installation itself, so that is where this guide starts.
Signs it is time to change the vanity
- Swollen or soft cabinet bottom. The most common failure. A slow leak under the sink soaks particleboard until it crumbles.
- Doors and drawers that will not close because the box has racked or swelled.
- A cracked or stained top, or a sink with chipped finish.
- Not enough storage or counter, or two people needing to share one sink.
- Height. Older vanities at 30 to 32 inches feel low to many adults. Comfort height is 34 to 36 inches.
- Musty smell inside the cabinet, which can mean a leak or water damage behind it.
If the problem is only looks, refinishing may be enough. If water damage is the reason, plan to inspect the wall and floor behind it when the old cabinet comes out.
Replace it or refresh it?
| Option | What it fixes | When it makes sense |
|---|---|---|
| New hardware, paint or refinish | Dated color and style | Box is solid and dry, layout works |
| New top only | Cracked, stained or dated top | Cabinet is sound and level |
| Full vanity swap, same size | Damaged box, dated style, better storage | Plumbing stays where it is |
| New size or layout | More storage, a double sink, a floating vanity | Plumbing, floor or wall work needed |
If only the top needs replacing, see our step-by-step guide to install a marble vanity top.
Measuring for the new vanity
- Width of the space, wall to wall or wall to toilet, at the floor and at counter height.
- The old cabinet’s footprint. Floor tile often stops at the edge of the old cabinet. If the new one is smaller, or floats off the floor, you may have a patch to fill.
- Plumbing locations. Measure the drain height from the floor and the distance of the drain and supply lines from one side wall. A new vanity’s sink should line up with the drain, or the drain may need to move.
- Clearances. The plumbing codes used in Florida call for at least 15 inches from the center of a sink to a side wall or obstruction and 21 inches of clear floor in front of it.
- Door swings, outlets, light fixtures and the mirror. A taller or deeper vanity can hit an outlet or block a door.
Choosing the new vanity
- Type. Freestanding cabinets give the most storage and are simplest to install. Wall-mounted vanities need blocking in the wall. Corner vanities save space in tiny rooms.
- Size. Standard widths are 24, 30, 36, 48, 60 and 72 inches. Single vs double depends on the wall length and who uses the room.
- Construction. In a humid Florida bathroom, plywood or solid wood holds up better than particleboard.
- Top and sink. Integrated cultured marble, quartz with an undermount sink, vessel and drop-in sinks each change the cabinet and faucet you need.
For help with sizes and styles, see our guide to bathroom vanities in Orlando, FL.
Tools and preparation
Tools: adjustable wrench, basin wrench, channel-lock pliers, level, stud finder, drill/driver, utility knife, pry bar, putty knife, caulk gun, flashlight, bucket and rags.
Materials: the new vanity and top, faucet and drain, new braided supply lines, plastic shims, cabinet screws long enough to reach studs, 100 percent silicone, and new quarter-turn shutoff valves if the old ones are old or stiff.
Clear the cabinet, lay a drop cloth and protect the floor in front of the vanity. Take a photo of the plumbing before you disconnect anything.
Step-by-step: removing the old vanity
- Shut off the water at the valves under the sink. Open the faucet to confirm. If the valves leak or do not close, shut off the main.
- Disconnect the supply lines from the valves.
- Remove the P-trap. Put a bucket under it, loosen the slip nuts and pull it off. Stuff a rag in the wall drain to block sewer gas.
- Cut the caulk where the top and backsplash meet the wall.
- Remove the top. Cut the adhesive holding it to the cabinet and lift it off with a helper.
- Unscrew the cabinet from the wall. Look for screws through the back rail inside the cabinet.
- Pull the cabinet out and inspect the wall and floor behind it.
Look closely at what you find. Soft drywall, dark stains, a rotted cabinet floor or a corroded drain fitting means water has been getting in. Fix that before the new vanity goes in.
Step-by-step: installing the new vanity
- Prepare the wall and floor. Patch drywall, fill the old screw holes, and patch flooring if the footprint changed.
- Mark the studs and a level line at the height of the cabinet top.
- Cut openings in the cabinet back for the drain and supply lines if it has a solid back. Measure twice and use a hole saw.
- Set the cabinet in place and level it. Use shims under the low side at the floor until it is level front to back and side to side.
- Screw the cabinet to the studs through the back rail. At least two studs. For a wall-mounted vanity, the mounting rail or brackets must hit studs or solid blocking.
- Install the faucet and drain on the top before setting it, while you can reach everything.
- Set the top on beads of 100 percent silicone and check it is level.
- Reconnect the plumbing. Supply lines to the valves, then the P-trap. You may need to cut the drain tailpiece to length.
- Test for leaks. Run water, fill and drain the sink, and check every joint with a dry paper towel. Check again the next day.
- Caulk the backsplash and the joints at the wall. If the backsplash is a separate stone piece, our guide to attach a marble backsplash to a vanity covers adhesives and caulking.
Orlando issues we see when changing vanities
- Old shutoff valves. Original multi-turn valves in older homes often seize or leak at the stem when turned. Replacing them during a vanity swap is cheap insurance.
- Old supply piping. Some older Orlando-area homes still have polybutylene (often gray plastic) or galvanized steel lines. If you see them under the sink, have the plumbing looked at before connecting new fixtures.
- Slab-on-grade drains. Most Central Florida homes sit on a concrete slab. Moving a vanity drain sideways a few inches can be done in the wall, but larger moves can mean opening the slab.
- Humidity. A working exhaust fan vented outside protects the new cabinet.
DIY vs hiring a pro
A same-size swap with a vanity that comes with its top is a reasonable DIY job. Hire a licensed contractor when:
- The plumbing needs to move, or you are going from one sink to two.
- The floor or wall behind the old vanity is damaged.
- You are installing a wall-mounted vanity and need blocking in the wall.
- You have a heavy stone top or a top that needs cutting.
- The shutoff valves, drain or supply piping are old and corroded.
Plumbing changes are done under a plumbing license. Prime Construction holds a Certified Plumbing Contractor license (CFC1433952) along with our general contractor license, so we handle plumbing moves as part of the vanity job.
Cost to change a bathroom vanity in Orlando
| Item | Typical range (2026, Orlando area) |
|---|---|
| Vanity cabinet | About $300 to $3,000+ (custom more) |
| Labor, like-for-like swap | $300 to $900 |
| Labor with new supply/drain rough-in or wall changes | $1,000 to $2,500+ |
| Stone top installed on an existing vanity (labor) | $250 to $700, plus the top |
These are planning ranges and vary with the vanity, the top and what is behind the wall. A written estimate after measuring is the real number.
Ready to change your vanity?
Prime Construction measures the space and plumbing, helps you pick a vanity that fits, and installs it, including any plumbing changes and permits, through our bathroom vanity service. If the vanity is the start of a bigger project, we also handle full bathroom remodels across Orange, Seminole, Osceola and Lake counties. Call (407) 404-3944 or request an estimate.